Sunday 28 December 2014

THE DRUMMER

The drummer is the eighth member in my music band. With the experience I have been gaining during the past year I have dared to design my own model. Both, drum and dwarf (the upper part) are my own design. Evidently inspired by Joisel's work.

Here is my drummer:

A few months ago when I folded my flautist I challenged myself: designing a similar dwarf but with neck. As you can see in the following pic, in this model, the head comes directly from the body. It does not have neck at all:
With my drummer I have made a long necked dwarf and as an additional benefit, I have designed a face with a big moustache. The drawback is that I have lost the very long flap that is used to make the hat. I have replaced it with long hair that covers the top and back of the head.

The lower part of the model is the skirt with diamonds I have already used for other musicians (violinist and bass player). It would not be difficult to change the CP to use different costumes.

Let us take a look at the CP:
and let us compare it with, for example, the dwarf with diamonds' CP:
As you can see, the lower part of the model is exactly the same. It will form skirt and legs. However, the upper part is completely different. In the following drawing I have marked the different areas in the model:

In the centre area there are three red squares that will make chin, nose and eyes. In yellow there is one rectangle that will form the hair (much shorter than in the 'traditional' dwarf). All around the centre there is a pink 'river' that will form the neck. Finally, there are 6 green squares, three on each side of the face. The lower one on each side will form the moustache. The other four are unused. They could have been used to make ears.

Collapsing the face is trickier in this model than in the other dwarfs because the green squares get hidden into the red ones. Before collapsing the face for the first time I recommend you try it with a proof paper.

Let us see some pics of the collapsing process. For my model I have used a 60x60 cm Kozo paper. The final height of the dwarf is 22 cm:

Front view
Back view
Side view
And the face:

Detail of the face
You can see how the 'green' squares are hidden inside the 'red' ones. 

Detail of one of the 'green' squares
And now, let us see how to stretch the 'green' squares to make the moustache:


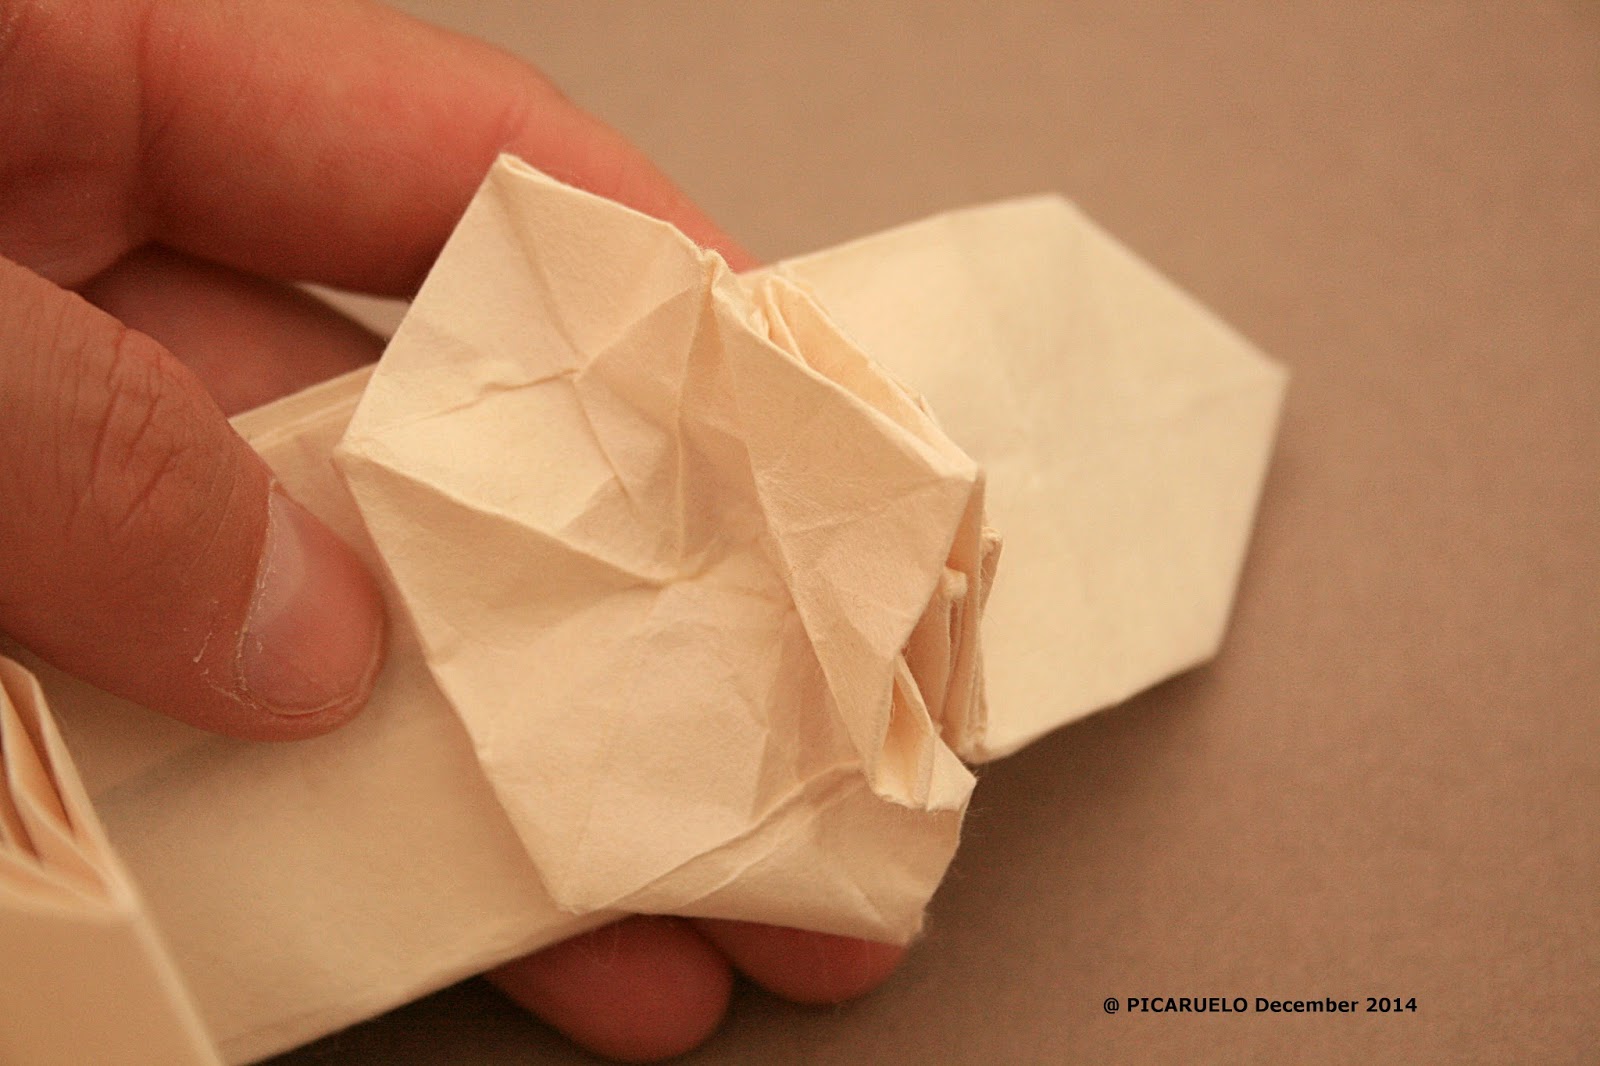
To model the eyes we squash the top flap in the face:

We stretch the upper flap to make the hair:


Closing the back of the model is similar to the procedure used with the other dwarves with diamonds:

We put one layer on one side on top of the layer of the opposite side

We put one triangle inside the triangle of the opposite side

The back once closed
After the basic modelling we come to this point:


Now we start the detailed modelling using methyl cellulose and carpenter glue:

Shaping the arms

Modelling completed
We finally come to the end model that I show from all perspectives:


In my next post I will talk about the drum, a very simple concept but hard to fold if you want to get a well shaped and closed cylinder.


Saturday 25 October 2014

THE BASS PLAYER

The seventh dwarf in my Music Band is the tallest with his very long hat. Besides, he has the biggest instrument until now. He is standing straight, gently touching the bass strings. He is here:

And here you have Joisel's bass player in the Zaragoza Exhibition in 2013:
Joisel's bass player in the Zaragoza Exhibition in 2013
The model is folded from the same base than the violinist that I already presented in this blog, the dwarf with diamonds:

In this case I have used a slightly bigger paper, the maximum I could get from the piece of Kozo paper I had: 64x64cm. The total height of the model is 27 cm. I have used a long vertical hat to make it as tall as possible so that it looks over the instrument. Compared to the violinist the model is much more slender. Together with the long hat, I used long legs. Note how I used smaller feet than in the violinist and no knees at all to lengthen the legs. They are small details that make two similar models look very different.

The instrument, a bass, is difficult to classify. A bass may refer to different instruments, none of them exactly the same as the origami model I have folded. However, the similarities with Joisel's bass and the beauty of the model made me select it for my musician.

In the following images from Wikipedia you can see some of the instruments that are called basses. I like to imagine the origami model like a mixture between the bass violin or cello and the acoustic bass guitar:

Acoustic bass guitar

Bass guitar
Bass violin

In the origami world there have already been several bass designs. I have found three related to Joisel's model:

The first one, with very little documentation appears in the Spanish Origami Association (AEP) forum:
Photograph published by 'zenutrio' in the AEP forum

CP draft showing the bass body (it doesn't appear in the forum any more but I think it matches the previous model)
The second one is the model designed and released by Ricardo Montecinos in his flickr page:
And the third one, my option, has been designed and published by Alexander Kurth. Alexander is a very talented young german origami artist. Here are some links to his flickr,  Facebook and Youtube channel. Enjoy his creations. In his Youtube channel he has a videodiagram showing step by step how to fold the bass:


I have drawn his bass CP to illustrate the design:


It is a 3x1 box pleating design. It uses a 48x16 grid. The body is on the left and the arm on the right. I folded my model from a 41x13.3 cm kozo paper painted with brown water colour. The most beautiful part of this model is probably the central hole in the body. You can see the detail in the model I folded:

Back
Front
The only problem I found in Alexander's model was that it is back opened. As I have explained in other posts, my idea when folding these musicians was to make them completely three dimensional. Until now I had succeeded in all the models except in the violin that has an open back. However Alex's bass is relatively easy to close. As you can see in the upper photograph, the sides of the body have several layer of paper. It is simple to unfold and stretch them to form the flat back of the instrument. The only drawback is that the process shortens the legs but, who cares how long are those legs?

Let us see several pics of the process: 


And the model is completely closed:


Finally, I show a few photographs of the model from different points of view:

Face detail